User Guide for NASA Electric NS-1118 Fan
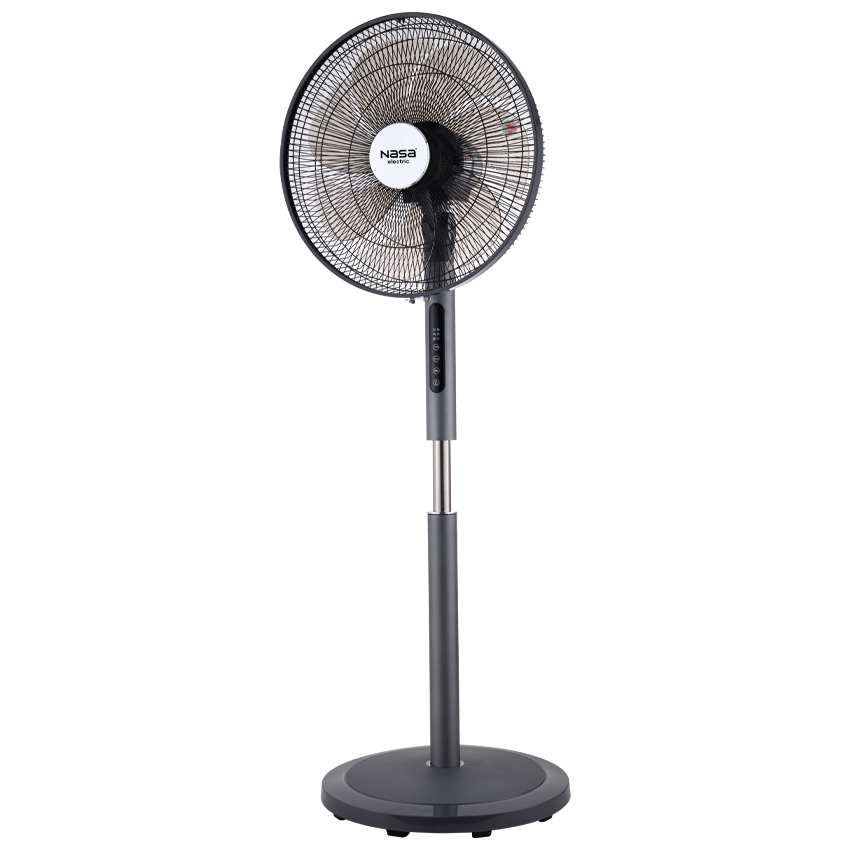
To install the NASA Electric NS-1118 Fan, first attach the heavy base cover and secure the support pole using the L-shaped screw and washer. Adjust the height by loosening the pole knob, setting the desired height, and tightening it again. Then install the main fan body on the pole and secure it properly.
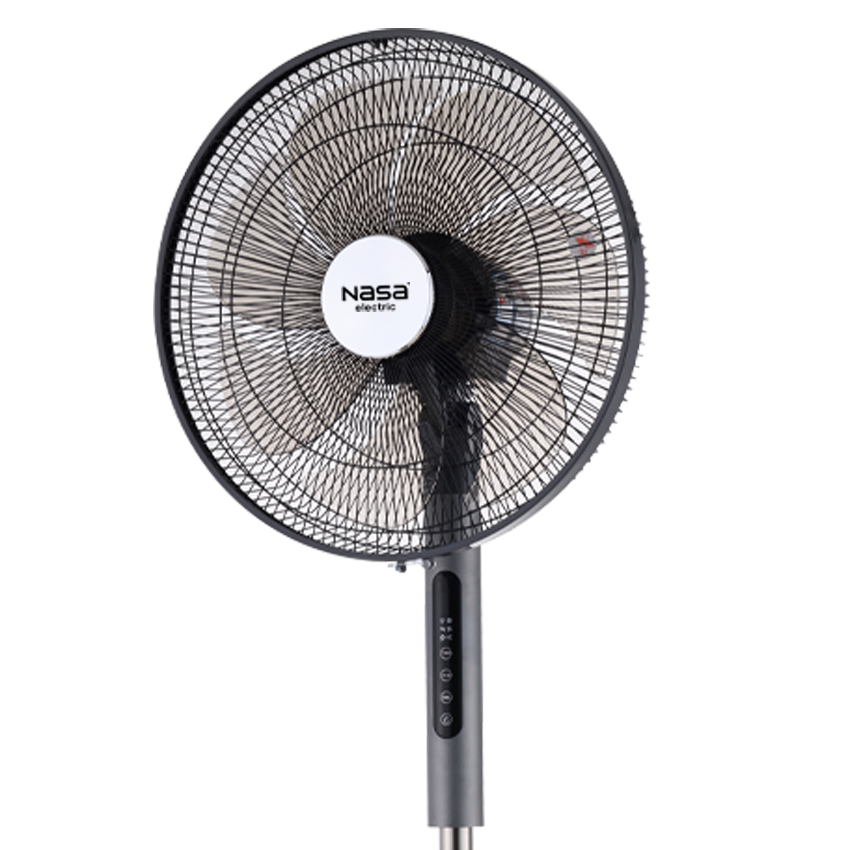
Next, install the rear grille on the motor shaft and tighten it with the grille nut. Place the blade on the shaft, secure it with the locking nut, and attach the front grille by fastening the clips.
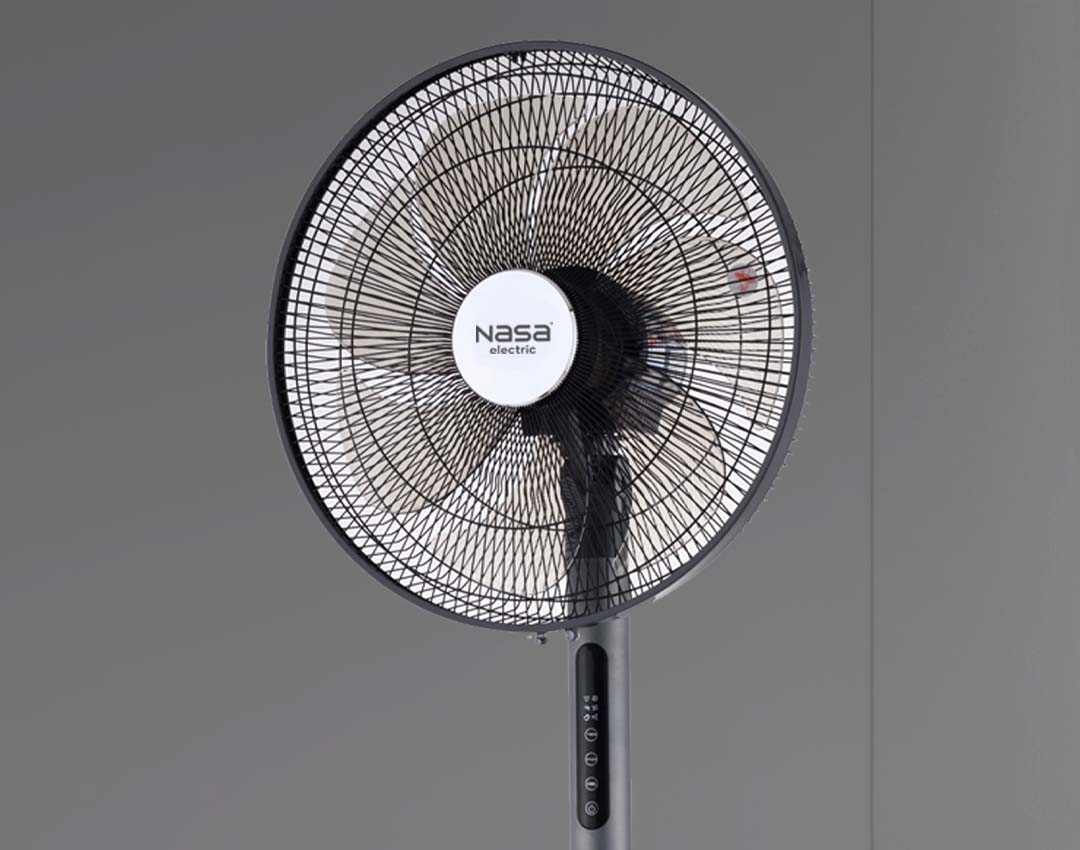
After connecting the fan to the power supply, press the Power button to start operation. Use the Speed button to select one of the three airflow levels. The OSC button activates or disables automatic oscillation, while the Mode button allows selection of airflow modes. The Timer function can be set for up to 8 hours.
The airflow angle can be adjusted by moving the fan head upward or downward. The remote control provides access to all main functions and operates with AAA batteries.
For cleaning and maintenance, always unplug the fan before cleaning and use only a soft cloth with mild cleaning agents to keep the device in optimal condition.
Warranty and After-Sales Service of NASA Electric NS-1118 Fan
The NASA Electric NS-1118 Fan is supplied with a 24-month official warranty and 5 years of spare parts supply commitment, ensuring long-term support and customer confidence. To activate the warranty, simply send the product serial number or tracking code to the warranty registration SMS system at 10008454, or contact NASA Electric customer support at 02145114. For repairs and maintenance, it is recommended to use authorized service centers and professional technicians. Official after-sales services help maintain safety, protect warranty conditions, and ensure the fan continues to operate with optimal performance.





نظرات کاربران